When customers order custom caps, one of the first questions is usually simple: “How big can my logo be?” The honest answer is that cap design placement depends on the cap style, decoration method, artwork details, and the exact area where the design will be applied.
A cap is not flat like a T-shirt. The front crown, side panels, back opening, bill, seams, and curved structure all affect how a design will look after production. A size that works perfectly on the front of a cap may be too tall or too wide for the left side, right side, or back.
At W88 Prime Wear, we review cap projects from both the design side and the production side. That means we look at artwork quality, digitizing, patch shape, pressing area, stitch limits, and how the final cap will look in real life.
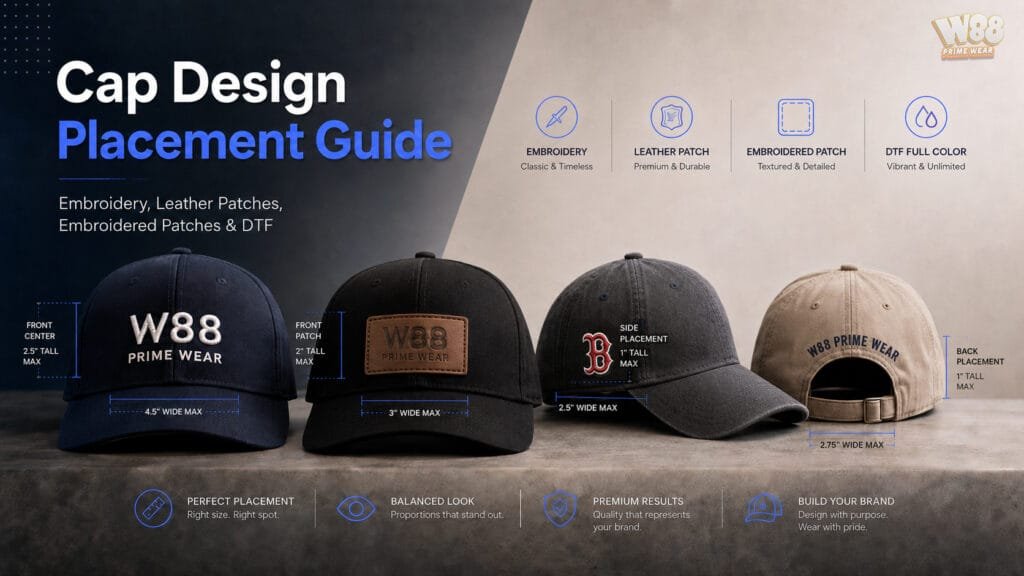
Why Placement Matters on Caps
Good cap design placement helps the final product look balanced, readable, and professional. Poor placement can make a logo look crowded, too small, crooked, or stretched across an area that was never meant for that size.
The most important thing to understand is that each area of the cap has a different usable space. The front usually gives the most room. The sides are smaller and more curved. The back is limited by the closure, opening, seam structure, or sweatband. The bill can be decorated in some cases, but it is not the best place for every logo.
This is why we do not recommend using the exact same design size for every cap location. A front logo and a side logo may need different dimensions, even if they use the same artwork.
General Cap Design Size Guide
The measurements below are general production guidelines. They are helpful starting points, but the final size should always be checked against the actual cap style, artwork shape, and decoration method.
| Cap Style | Front Area | Left / Right Side Area | Back Area | Bill / Brim Area | Best Use |
|---|---|---|---|---|---|
| High Profile Hat | 2.25″ H x 5″ W | 1″ H x 3.25″ W | 1″ H x 2.75″ W | 2″ H x 5.50″ W | Bold logos, patches, 3D puff, structured designs |
| Mid Profile Hat | 2″ H x 5″ W | 1″ H x 2.50″ W | 1″ H x 2.75″ W | 2″ H x 5.50″ W | Business logos, direct embroidery, leather patches |
| Low Profile Hat | 1.75″ H x 4″ W | 1″ H x 2.50″ W | 1″ H x 2.75″ W | 1.75″ H x 5.50″ W | Smaller logos, clean text, casual caps |
| Low Crown Hat | 1.75″ H x 4″ W | 1″ H x 2.25″ W | 1″ H x 2.75″ W | 2″ H x 5.50″ W | Minimal artwork, small embroidery, compact patches |
| Visor | 1.50″ H x 5″ W | 1″ H x 4″ W | Not typical | 2″ H x 5.50″ W | Front names, short text, simple marks |
These numbers show why cap design placement needs planning. The front of a high-profile cap may allow a design around 2.25 inches tall, while the side or back usually works better around 1 inch tall. That difference matters.
Front Placement
The front center is the most common cap location. It is usually the best choice for a main business logo, school logo, team name, event logo, or brand mark.
Front placement works well for:
- Direct embroidery
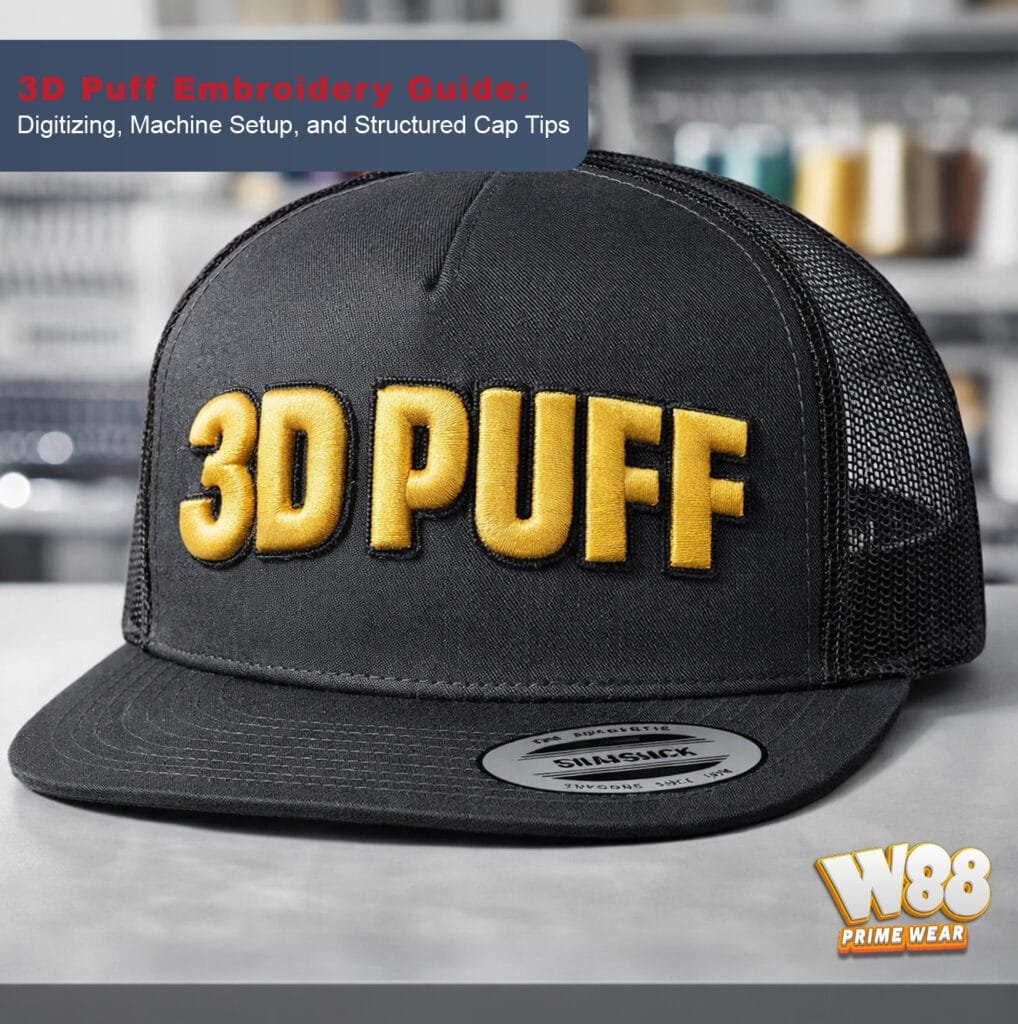
- 3D puff embroidery
- Leather patches
- Embroidered patches
- DTF applications
- Simple full-color artwork
Front placement usually gives the most visibility and the most usable space. However, the cap structure still matters. A structured high-profile cap can usually handle a taller design than a low-profile dad hat. A five-panel cap may be better for certain patches because there is no center seam through the main front panel.
If your design has small letters, thin lines, or detailed shapes, the artwork may need to be simplified before production. This is especially important for Embroidery and 3D puff work.
Left Side and Right Side Placement
Side placement is great for secondary branding. It can be used for small icons, initials, short names, small patches, flag-style designs, or simple brand marks.
The side of a cap is much smaller than the front. Most side designs should stay close to 1 inch tall. A design that is 5 inches wide on the front will usually need to be resized before it can work on the side.
Side placement works best for:
- Small direct embroidery
- Small DTF graphics
- Small leather patches
- Small embroidered patches
- Short text or simple icons
Side placement is not ideal for tall logos, complex artwork, or large patches. The curve of the side panel can make oversized designs look uneven or forced.
Back Placement
Back placement is often used for website names, short slogans, small logos, social handles, phone numbers, or simple text.
This area is limited because many caps have a snapback, buckle, velcro closure, ponytail opening, or curved back panel. Because of that, the design usually needs to be short and clean.
Back placement works best for:
- Small embroidered text
- Small DTF text
- Small brand marks
- Short website names
- Simple icons
If the design includes text, readability is very important. Small letters can become difficult to read when stitched, pressed, or placed near a curved seam.
Direct Embroidery on Caps
Direct embroidery means the artwork is stitched directly into the cap. This is one of the most classic and durable methods for custom hats.
It works best for clean logos, strong shapes, short text, initials, and business branding. However, direct embroidery requires proper digitizing. The file must be prepared with the correct stitch direction, density, underlay, pull compensation, and sequencing.
A logo may look perfect on screen, but that does not mean it is ready to stitch on a curved cap. Caps need special attention because the surface is not flat.
Direct embroidery is not ideal for:
- Tiny text
- Very thin lines
- Photo-style artwork
- Complex gradients
- Too many small details
- Designs that are too tall for the crown
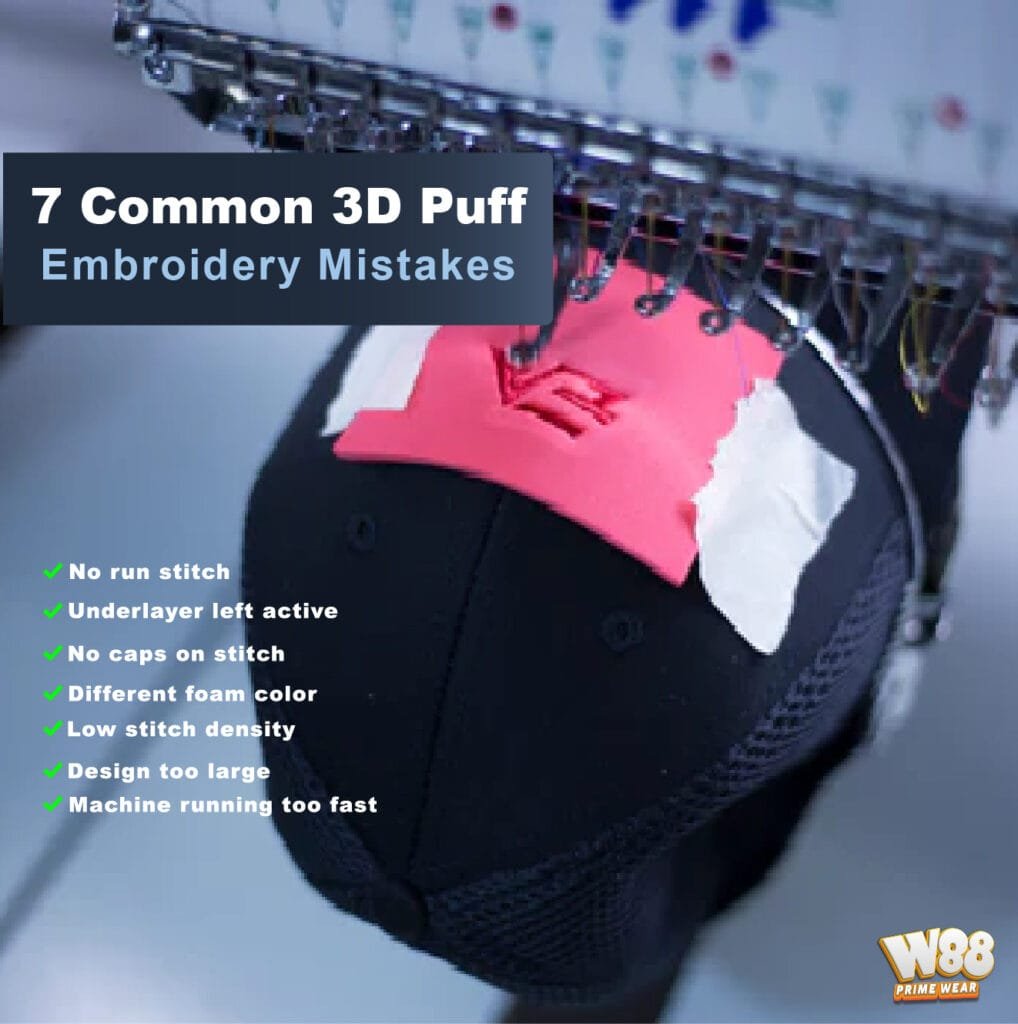
For raised designs, you can also review our 3D Puff Embroidery Guide and our article about 3D Puff Embroidery Mistakes and Fixes.
Leather Patches on Caps
Leather patches create a premium, retail-style look. They are popular for businesses, restaurants, breweries, farms, construction companies, outdoor brands, local shops, and custom merch.
A leather patch can be laser engraved, cut into different shapes, and applied to the cap with heat press, sewing, or a combination method depending on the patch type and backing.
Leather patches work well for:
- Structured caps
- Trucker caps
- Snapbacks
- Five-panel caps
- Workwear-style caps
- Outdoor-style caps
A common front patch size is around 2″ x 3″, but the best size depends on the cap profile and patch shape. Round, oval, rectangle, square, and custom-shaped patches all sit differently on the crown.
For side placement, leather patches usually need to be smaller. A patch that looks balanced on the front may be too large for the side panel.
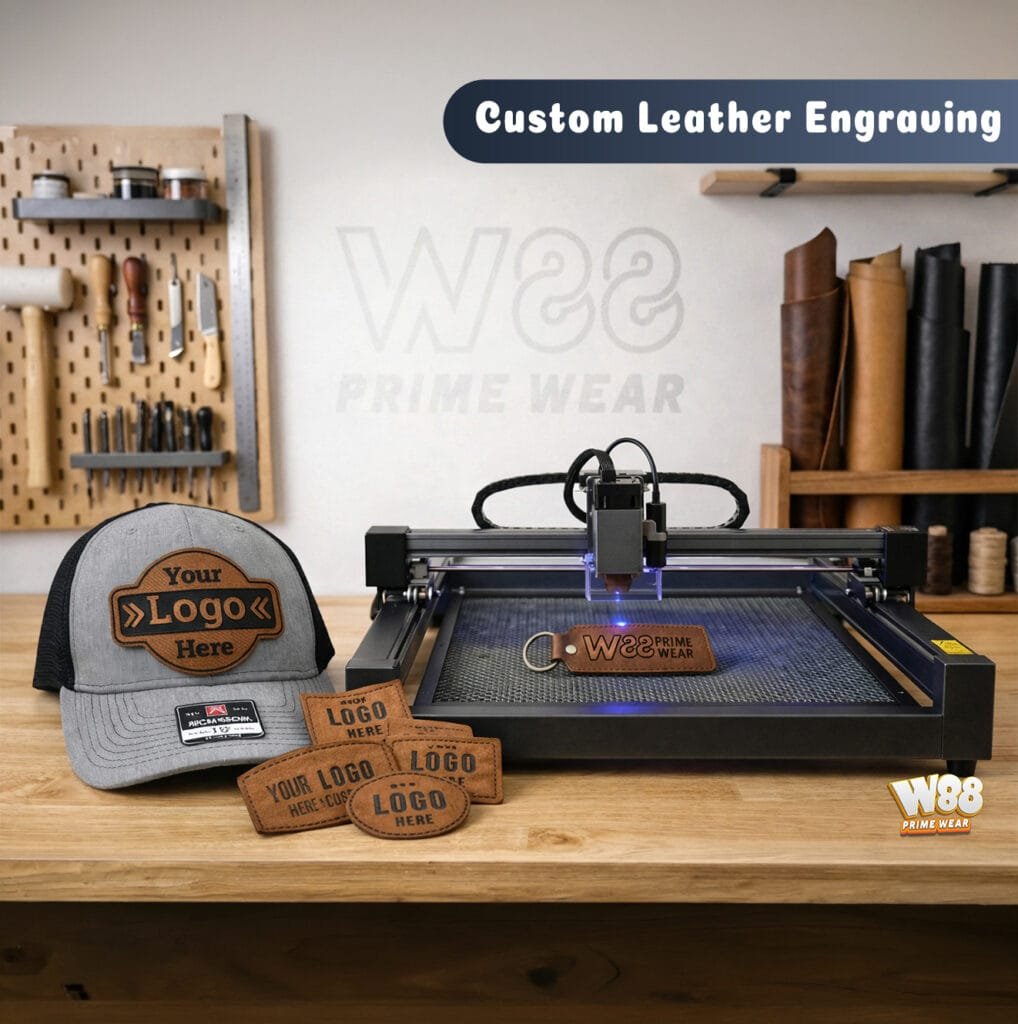
If you want to learn more about this style, visit our Custom Leather Engraving article.
Embroidered Patches on Caps
Embroidered patches are a strong option when you want a stitched look with a clean badge-style finish. Instead of stitching the full design directly into each cap, the logo is made as a patch and then attached to the cap.
This can be useful for logos that need a border, designs used across multiple products, or artwork that looks better as a separate patch.
Common attachment methods include:
Heat Seal Backing
Heat seal backing uses adhesive that activates with heat. It is fast and clean, but it depends on the patch backing, cap material, pressure, temperature, and time.
The patch should be positioned carefully and secured with heat-resistant tape before pressing. A protective cover sheet can help protect the patch and cap surface.
Sewing
Sewing is usually the most durable way to attach an embroidered patch. It gives better long-term security, especially for caps that may be worn often, handled frequently, or exposed to sweat.
Heat Seal Plus Sewing
For many professional projects, combining heat seal and sewing can give the best result. The heat helps position and bond the patch, while stitching helps extend the life of the patch.
Glue alone should be treated as temporary. It may work for quick positioning, but it is not the best choice for a professional cap order.
DTF Application on Caps
DTF, or Direct to Film, is a good option for colorful designs, small runs, detailed artwork, and logos that may not be practical for embroidery.
DTF works well for:
- Full-color graphics
- Small custom orders
- Event artwork
- Detailed logos
- Designs with gradients
- Artwork that would be too complex for embroidery
However, DTF still needs proper cap design placement. The transfer must fit the decoration area, stay away from difficult seams when possible, and receive even heat and pressure.
A DTF design that works on the front of a cap may still be too large for the side or back. The design should be resized for the actual placement.
For more information about this type of service, visit our Heat Transfer page.
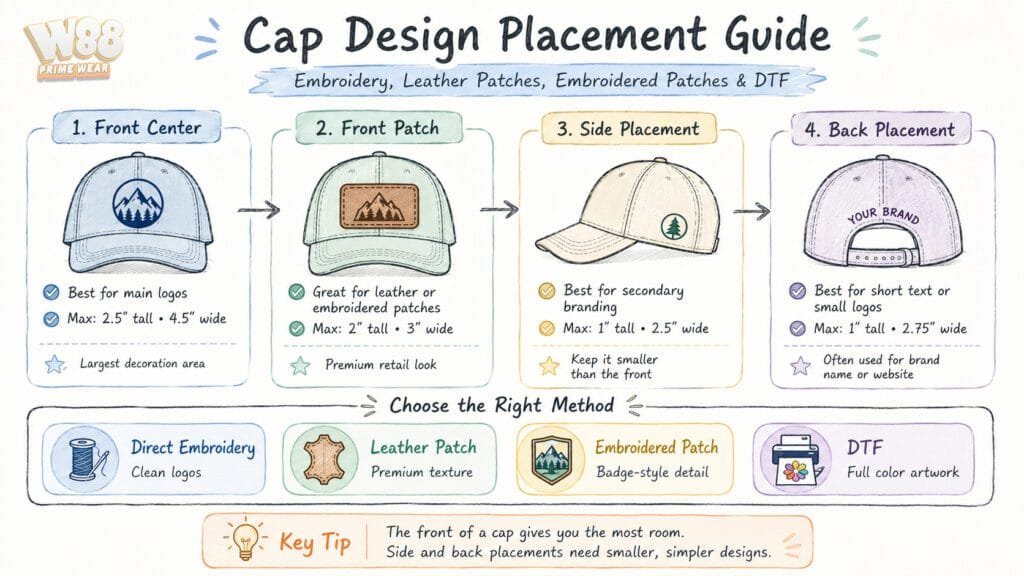
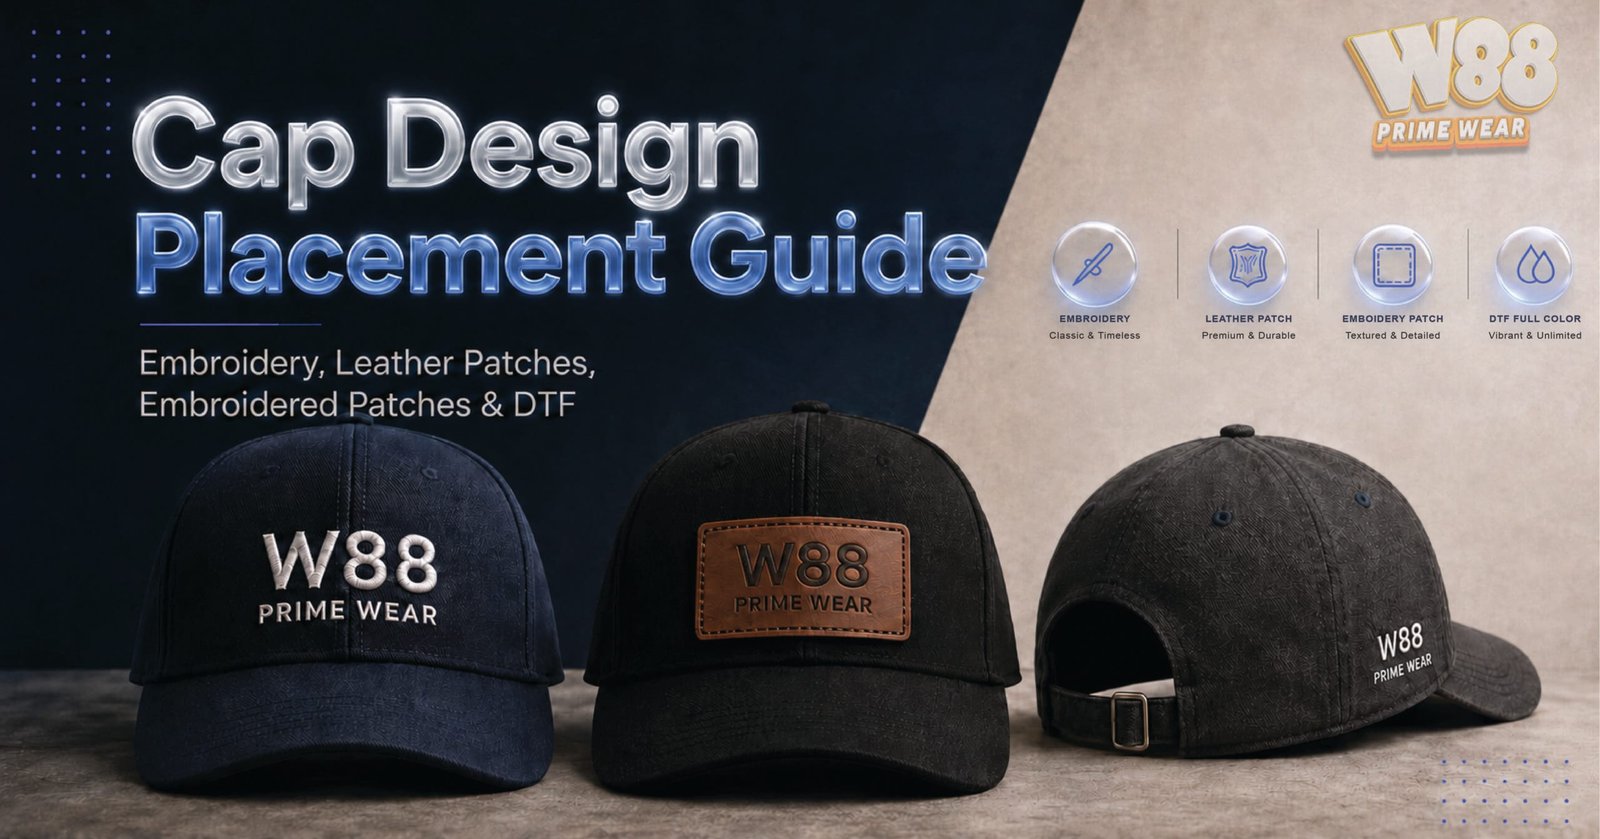
Suggested Infographic Prompt
Create a clean vertical infographic for a custom apparel blog titled “Cap Design Size and Placement Guide.” Show one cap from front view, one cap from side view, one cap from back view, and one cap bill close-up. Add simple measurement callouts: Front 1.75″ to 2.25″ tall, Side about 1″ tall, Back about 1″ tall, Bill up to about 2″ tall depending on cap style. Include four decoration method icons: Direct Embroidery, Leather Patch, Embroidered Patch, and DTF. Use a professional modern style with W88 Prime Wear brand colors, clean spacing, and easy-to-read labels.
Choosing the Best Decoration Method
The best method depends on your artwork, cap style, quantity, budget, and desired finish.
| Decoration Method | Best For | Main Advantage | Main Limitation |
|---|---|---|---|
| Direct Embroidery | Business logos, staff caps, simple marks | Durable and professional | Not ideal for tiny details or gradients |
| 3D Puff Embroidery | Bold raised logos | Premium dimensional look | Needs thick shapes and proper digitizing |
| Leather Patch | Premium retail-style caps | Clean, branded, high-end look | Size and pressure must be tested |
| Embroidered Patch | Badge-style logos | Consistent and durable | Attachment method matters |
| DTF | Colorful and detailed designs | Great for full-color artwork | Needs even pressure and proper placement |
For a clean business cap, direct embroidery may be the best choice. For a premium outdoor or retail look, a leather patch may be better. For detailed full-color artwork, DTF may be the most practical option. For a strong badge-style design, an embroidered patch can work very well.
Common Mistakes to Avoid
One of the biggest mistakes is using the same size for every cap area. The front, side, back, and bill are not equal.
Another mistake is choosing a decoration method without checking the artwork. A detailed logo may not work well as embroidery. A small thin font may not engrave clearly on leather. A large patch may not sit correctly on a curved side panel.
The third mistake is ignoring the cap structure. A structured trucker cap, low-profile dad hat, five-panel cap, snapback, visor, and beanie all behave differently during production.
Professional planning avoids these problems before production starts.
What Customers Should Know Before Ordering
Before placing a custom cap order, it helps to answer these questions:
- Where do you want the design placed?
- What type of cap are you using?
- Do you want embroidery, leather patch, embroidered patch, or DTF?
- Is your artwork simple or detailed?
- Do you want a premium look or a budget-friendly option?
- Will the cap be used for staff uniforms, resale, events, or personal use?
These answers help us recommend the right size, method, and placement.
Final Thoughts
Custom caps look best when the design is planned around the cap, not forced onto it.
The front usually gives the most room, while the side and back require smaller, cleaner designs. Direct embroidery, leather patches, embroidered patches, and DTF all have different strengths. The best result comes from matching the artwork, cap style, placement, and production method.
At W88 Prime Wear, we help customers choose the right cap design placement before production so the final result looks clean, balanced, and professional.
Ready to Create Custom Caps?
Need help choosing the right size, position, or decoration method for your custom hats?
Contact W88 Prime Wear today to start your custom cap project. You can also follow us on Facebook, Instagram, YouTube, and TikTok for more custom apparel ideas, production tips, and new design inspiration.


![Tribal Skull Warrior – T-Shirt [warrior spirit]](https://w88primewear.com/wp-content/uploads/2025/08/WJD-L-000008-T-1-300x450.jpg)